Skip to content 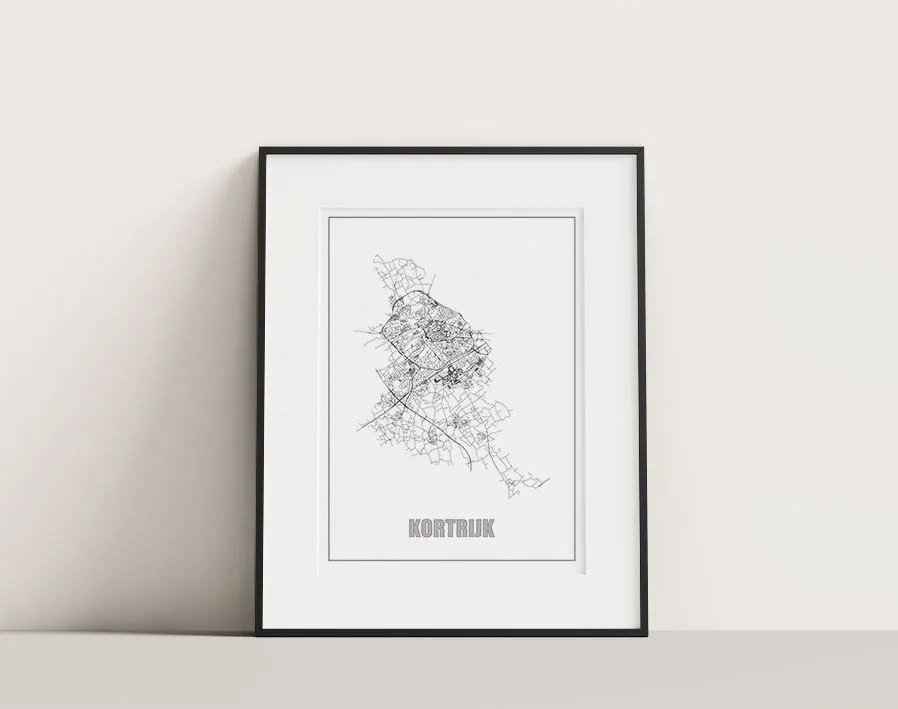
- Go to City roads and enter the name of your hometown
- Zoom in or out, depending on the level of detail you want
- Click ‘Customize’ and save ‘as a vector (.svg)’
- Open the file in Inkscape
- Choose ‘File’ > ‘Document Properties’ and select the document size you want. Don’t forget the orientation.
- Click somewhere on the map where there are no roads to select the backgrond. Remove this by pressing the delete key.
- Select the whole map, scale and position it as needed.
- Pick the text tool and write down the name of your hometown. Place it at the bottom, make it big and bold.
- Select only the text now.
- Choose ‘Path’ > ‘Object to path’ to convert the text to a path (outlines)
- Zoom in a bit, so you get a good overview of the text
- In the ‘Fill and Stroke’ panel, choose ‘Stroke paint’ > ‘Flat color’ and pick a color (black is fine)
- Still in the ‘Fill and Stroke’ panel, choose ‘Fill’ > ‘No paint’ (the “x” icon)
- With the text outlines still sected, choose ‘extensions’ > ‘AxiDraw utilities’ > ‘Hatch fill…’
- Check the ‘Live preview’ box at the bottom
- Adjust the settings until you get the density you want. Have the thickniss of actual pen in mind when you set the ‘Hatch spacing’. An angle of 45° turns out nice.
- Click ‘Apply’ and ‘Close’
- As a finishing touch, add two rectangles around the poster, as a kind of frame. Set them 1-2 mm apart for a classic look.
- Save the file as an SVG
- Follow the steps described in the Webinterface to plot the file.